If you’re making your way through Palworld’s main progression, tower bosses are the biggest milestones you’ll face. Every major encounter is designed around a recommended level range, and while the game technically lets you challenge some of them earlier, doing so usually means fighting an uphill battle against tighter damage checks and tougher mechanics.
Version 1.0 raised the stakes even further. Tower battles now have a 5-minute time limit, making damage output just as important as survival. Bringing the right elemental counters, upgraded equipment, and a well-trained Pal team matters far more than it did before.
At launch, Palworld 1.0 features eight main Tower Bosses, followed by a final encounter at the World Tree that serves as the last major challenge. Hard Mode variants unlock later, so there’s no reason to worry about them during your first playthrough.
Palworld Tower Boss Order
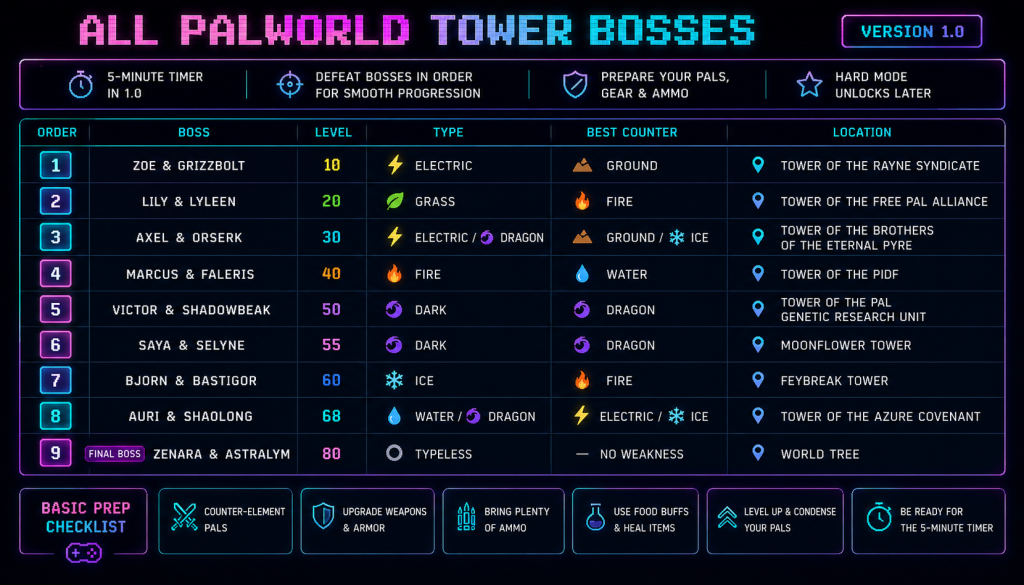
Following the intended progression makes the game much smoother, since each boss prepares you for the next jump in difficulty.
| Order | Boss | Level | Type | Best Counter | Location |
|---|---|---|---|---|---|
| 1 | Zoe & Grizzbolt | 10 | Electric | Ground | Tower of the Rayne Syndicate |
| 2 | Lily & Lyleen | 20 | Grass | Fire | Tower of the Free Pal Alliance |
| 3 | Axel & Orserk | 30 | Electric / Dragon | Ground / Ice | Tower of the Brothers of the Eternal Pyre |
| 4 | Marcus & Faleris | 40 | Fire | Water | Tower of the PIDF |
| 5 | Victor & Shadowbeak | 50 | Dark | Dragon | Tower of the PAL Genetic Research Unit |
| 6 | Saya & Selyne | 55 | Dark | Dragon | Moonflower Tower |
| 7 | Bjorn & Bastigor | 60 | Ice | Fire | Feybreak Tower |
| 8 | Auri & Shaolong | 68 | Water / Dragon | Electric / Ice | Tower of the Azure Covenant |
| 9 | Zenara & Astralym | 80 | Typeless | No weakness | World Tree |
These level recommendations closely match the natural power spikes you’ll hit while exploring Palworld. Unlike Pokémon Gym Leaders, Tower Bosses behave more like major progression walls seen in games such as Terraria—they’re designed to test whether your gear, Pals, and preparation are ready for the next stage of the adventure.
Zoe & Grizzbolt (Level 10)
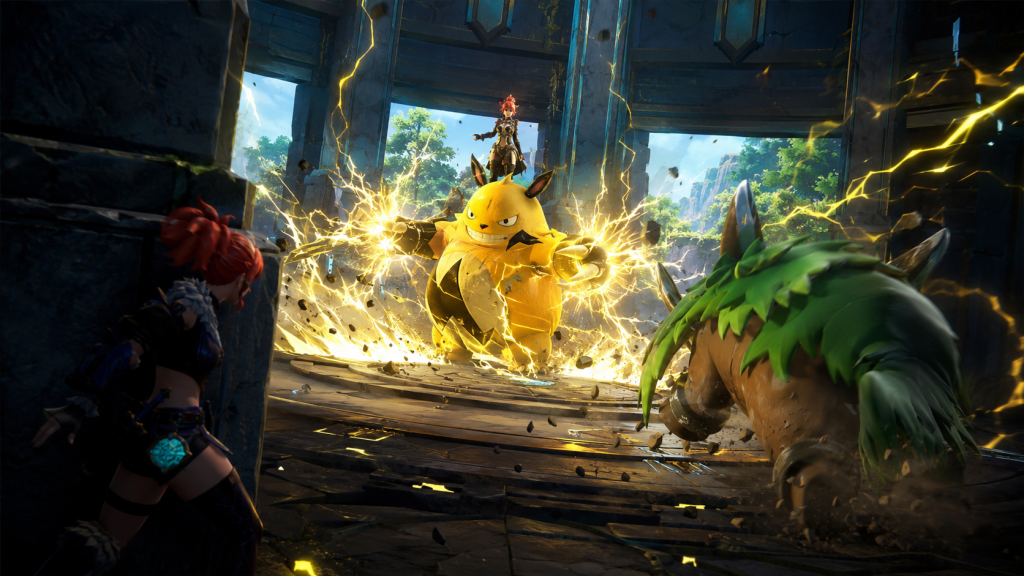
Every Palworld player begins their tower journey here. Zoe & Grizzbolt introduce the mechanics you’ll encounter throughout the rest of the campaign without demanding perfect execution.
Since Grizzbolt is an Electric-type Pal, Ground attacks are the obvious answer. Sure, you could return later with an overleveled team and flatten the encounter, but that removes most of the fun from the fight.
Before entering the tower, make sure you have:
- Ground-type Pals
- A bow or another early ranged weapon
- Basic armor
- Enough food to support your Pals
- A shield
Best Pals
Some of the strongest early-game options include:
- Rushoar
- Galeclaw
- Fuddler
Combat is fairly straightforward. The pillars scattered around the arena block incoming projectiles, making them excellent cover whenever Grizzbolt starts firing. Keep moving, recall your Pal before heavy attacks land, and avoid standing still for too long. As long as you’re actively dodging and attacking, this opening boss shouldn’t cause many problems.
Lily & Lyleen (Level 20)
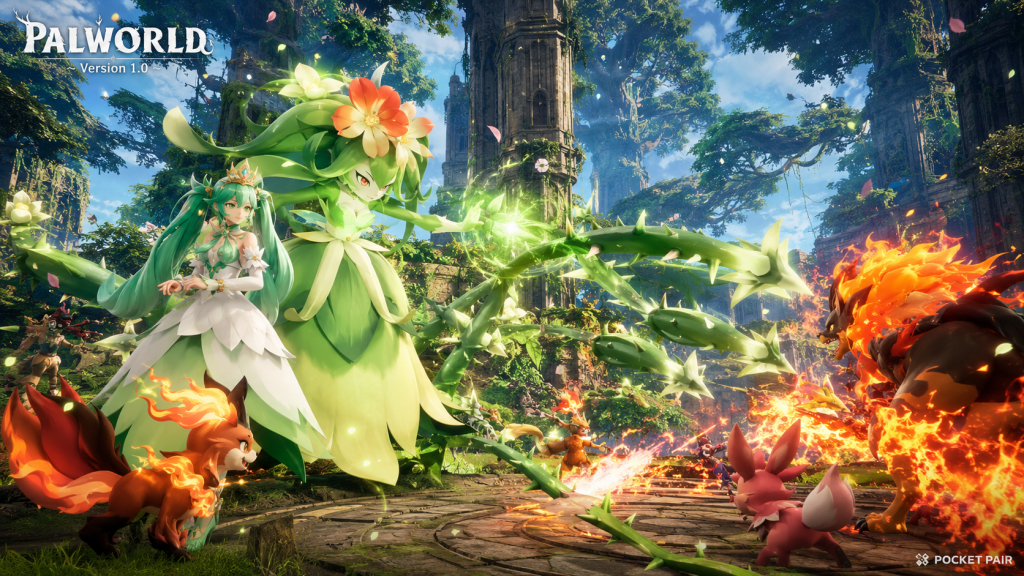
The second tower marks the point where fights begin demanding better damage output instead of simply surviving.
Lyleen is a Grass-type Pal, which naturally makes Fire your best option. Players who caught Foxparks near the first settlement have a great advantage here thanks to its Partner Skill, which transforms it into a flamethrower and performs exceptionally well throughout the encounter.
Recommended Preparation
Bring the following before starting the fight:
- Fire-type Pals
- Fire arrows or a firearm
- Improved armor
- Extra ammunition
- A durable Pal capable of surviving several hits while you dodge attacks
Best Fire Pals
Some excellent choices include:
- Incineram
- Arsox
- Bushi
- Rooby
Lyleen functions as a pure damage check. The encounter becomes much easier if you keep constant pressure on the boss instead of slowing the pace. Before Version 1.0, the timer left plenty of room for mistakes, but with the battle now lasting only half as long, maintaining steady damage is much more important. Stay aggressive and keep attacking whenever you have an opening.
Axel & Orserk (Level 30)
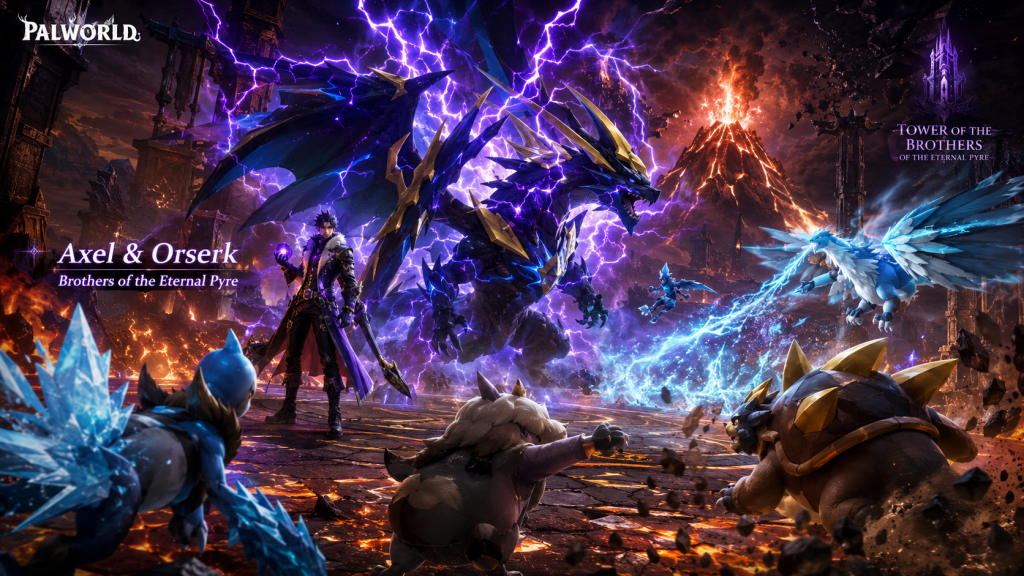
Here’s where things get serious.
Axel & Orserk represent the first genuine progression wall for many players. Orserk combines Electric and Dragon elements, making Ground and Ice attacks the strongest counters available.
The surrounding area introduces another challenge as well. Since the tower is located near Mount Obsidian, you’ll need heat protection before even thinking about the boss itself. Losing health to the environment before combat starts is an unnecessary handicap.
Bring These Items
- Ground and/or Ice-type Pals
- Heat-resistant armor or accessories
- A stronger ranged weapon
- Plenty of ammunition
- A backup combat Pal
Best Pals
Some of the strongest options include:
- Reptyro Cryst
- Penking
- Digtoise
Players willing to grind far beyond the intended progression can also arrive with Anubis or Frostallion, although both become available much later in the game.
Unlike the previous bosses, Orserk deals enough damage that your Pal won’t be able to carry the encounter alone. Stay mobile, keep firing whenever it’s safe, and don’t hesitate to recall your Pal whenever the boss begins charging one of its heavier attacks. Good positioning and careful timing matter just as much as raw damage here.
Marcus & Faleris (Level 40)
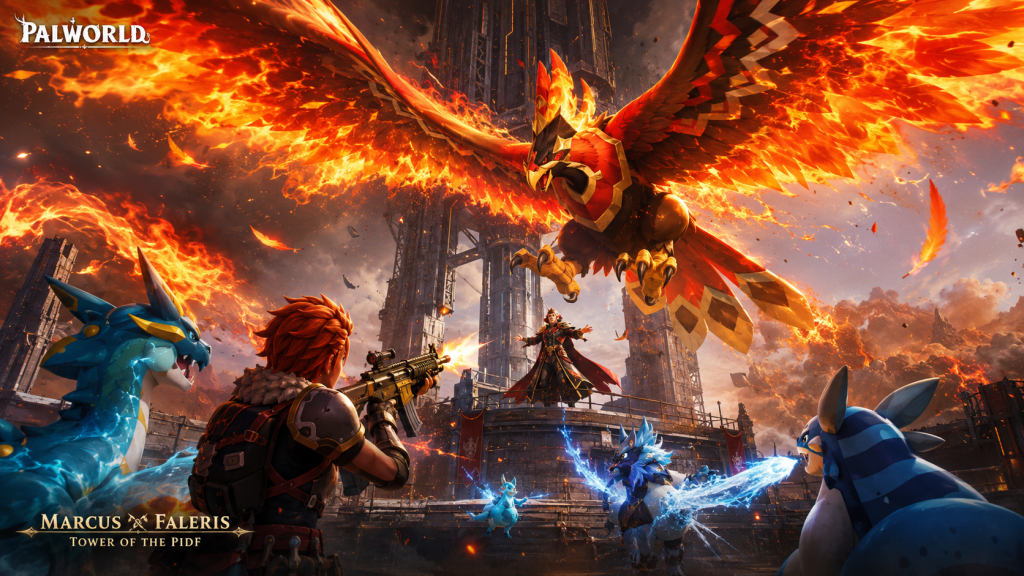
By the time you reach the Tower of the PIDF, the game expects you to have a solid team, upgraded gear, and enough firepower to keep pressure on bosses throughout the entire fight. Marcus & Faleris aren’t the toughest duo in Palworld, but they’re easily one of the most frustrating.
Faleris is a Fire-type Pal, so Water remains the obvious elemental answer. The catch is that the boss spends much of the battle airborne, making melee-focused companions far less effective than ranged attackers or flying combat Pals.
Recommended Loadout
Before entering the tower, prepare:
- Water-type Pals
- A strong rifle or another reliable ranged weapon
- Heat-resistant gear for the desert region
- Plenty of spare ammunition
- A Pal capable of attacking from range
Best Pals
Some of the strongest options include:
- Jormuntide
- Suzaku Aqua
- Elphidran Aqua
This is one of the first fights where slightly overleveling can make life easier, although it won’t solve every problem. Since the timer is constantly ticking, avoid Pals with slow-moving projectiles that frequently miss airborne targets. If your active Pal keeps failing to land hits, switch it out instead of wasting valuable seconds.
Victor & Shadowbeak (Level 50)
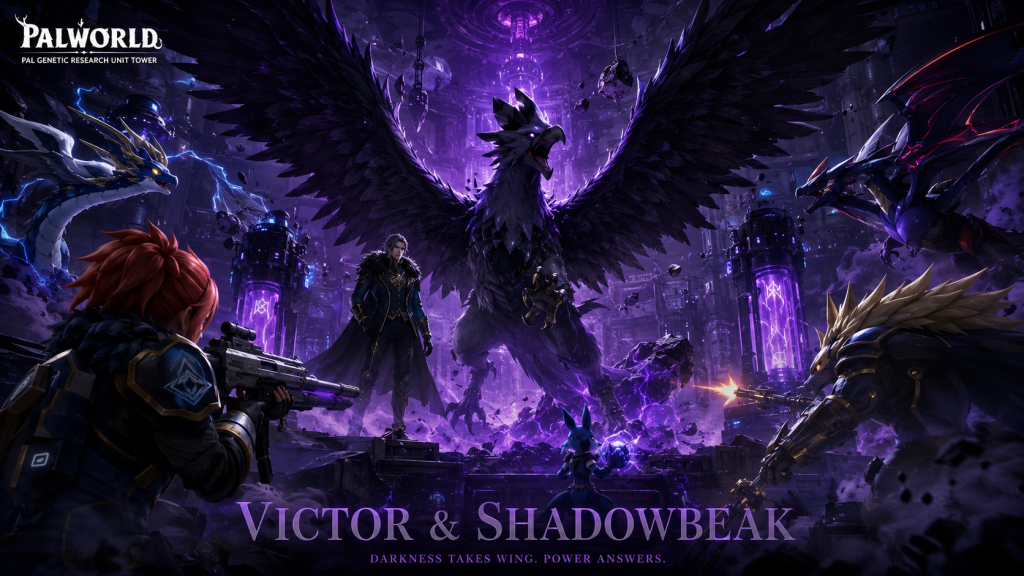
For a long time, Victor & Shadowbeak represented the final challenge in Palworld’s original tower progression, and even after Version 1.0 they’re still one of the biggest walls standing between players and the endgame.
Shadowbeak is a Dark-type Pal, making Dragon-type companions the best counter. Up until this point, you could get away with using a team of generally powerful Pals regardless of element. That approach starts falling apart here. Proper preparation becomes mandatory.
What to Bring
You’ll want:
- Dragon-type Pals
- At least Pal Metal Armor
- High-damage firearms
- A quality shield
- Plenty of healing supplies
Recommended Dragon Pals
Top choices include:
- Jetragon
- Frostallion
- Jormuntide
Don’t underestimate the damage requirement. The shortened timer means you now have to inflict roughly 200,000 damage within five minutes, making the encounter even tougher than it was before Version 1.0. Bringing an assault rifle with around 1,000 rounds is recommended, and defensive food buffs are worth using before the fight begins.
Saya & Selyne (Level 55)

Moonflower Tower introduces another Dark-type boss, but this battle feels very different from Victor & Shadowbeak.
Selyne doesn’t rely on unusual mechanics or gimmicks. Instead, the fight simply checks whether your equipment and damage output are good enough. It’s a straightforward encounter, even if the visuals make it one of the most impressive tower battles in the game.
If Victor barely survived your first attempt, don’t rush directly into Moonflower Tower simply because you’ve reached Level 55. A little more preparation goes a long way here.
Recommended Equipment
Bring:
- Dragon-type Pals
- A Rocket Launcher, Grenade Launcher, or a strong Assault Rifle
- Cold-Resistant Plasteel Armor
- Ultra Shield
- Extra ammunition
Best Dragon Pals
Strong options include:
- Jetragon
- Blazamut Ryu
- Any other fully upgraded Dragon-type Pal
The strategy stays fairly simple throughout the fight. Stay prepared, keep dealing damage, and make sure to recall your Pal whenever Saya & Selyne begin charging one of their heavier attacks. Good timing will save your companions from unnecessary knockouts.
Bjorn & Bastigor (Level 60)
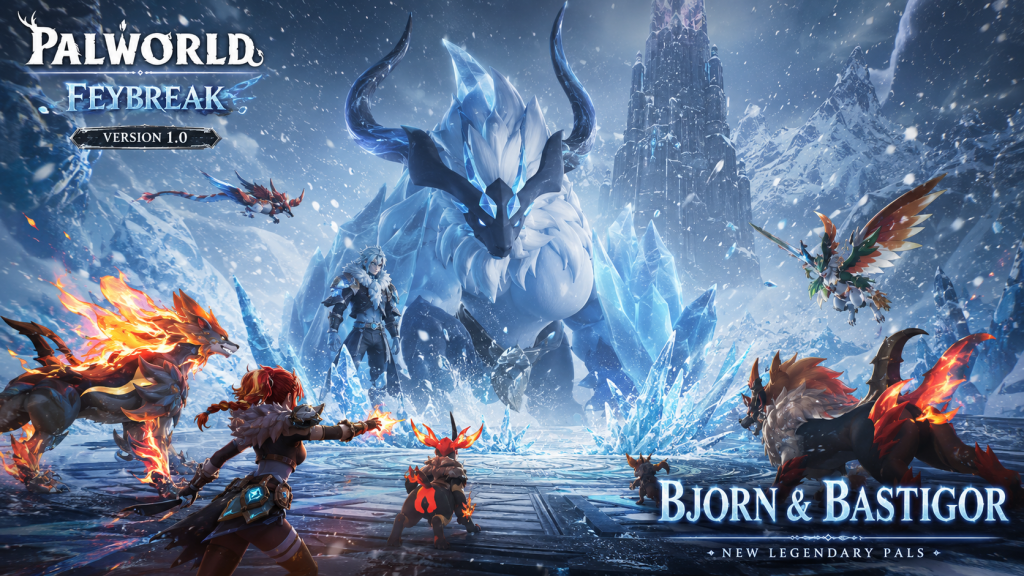
By the time you arrive at Feybreak Tower, bosses have massive health pools, tighter DPS requirements, and enough damage to punish even minor mistakes. Bjorn & Bastigor continue that trend.
Bastigor is an Ice-type Pal, making Fire your strongest elemental choice. Conveniently, you’ll also be exploring a freezing region, so bringing Fire Pals helps both in combat and while traveling through the area.
There’s one unexpected challenge, though. The fight is packed with visual effects, and on PC it can put a surprising amount of strain on your hardware. If performance starts dipping, lowering your graphics settings is a good idea before attempting another run.
Recommended Preparation
Before stepping into the arena, make sure you have:
- Fire-type Pals
- Cold-resistant accessories alongside your best available armor
- Powerful ranged weapons
- A strong shield
- Food buffs and healing items
Unlike earlier bosses, Bastigor can soak up an incredible amount of punishment. Even with a properly built team, don’t expect a quick victory unless you’re already significantly stronger than the intended level.
Defeating this encounter rewards you with the Key Sphere of Wrath, an item required to unlock the next stage of tower progression.
Auri & Shaolong (Level 68)

Version 1.0 introduced Auri & Shaolong as the newest main Tower Boss pair, found inside the Tower of the Azure Covenant in Sunreach. Although they aren’t the final boss of the update, they’re close enough that you should prepare as if this were the last major battle.
Before you can even reach the tower, you’ll first need to defeat Bjorn & Bastigor. Their victory opens a portal leading deeper into Sunreach, where the real journey begins.
Shaolong uses both Water and Dragon elements, making Electric and Ice your preferred counters.
Bring the Following
- Electric and/or Ice-type Pals
- At least V1 Armor
- Endgame weapons
- A flying mount
Reaching the Tower
Getting to the boss is almost as important as defeating it.
As you move through Sunreach, you’ll notice a giant tornado dominating the skyline alongside several beams of light scattered throughout the region. Each beam marks one of the defense systems blocking access to the tower.
To unlock the encounter:
- Travel to every beam of light.
- Destroy the defense system located there.
- Clear the nearby enemy base protecting it.
- Repeat until every defense system has been disabled.
- Head to the tornado and enter the tower.
Compared to the journey leading up to it, the boss fight itself is fairly straightforward. Stay airborne, keep your distance, and continuously fire at Shaolong while avoiding incoming attacks.
Zenara & Astralym (Level 80)
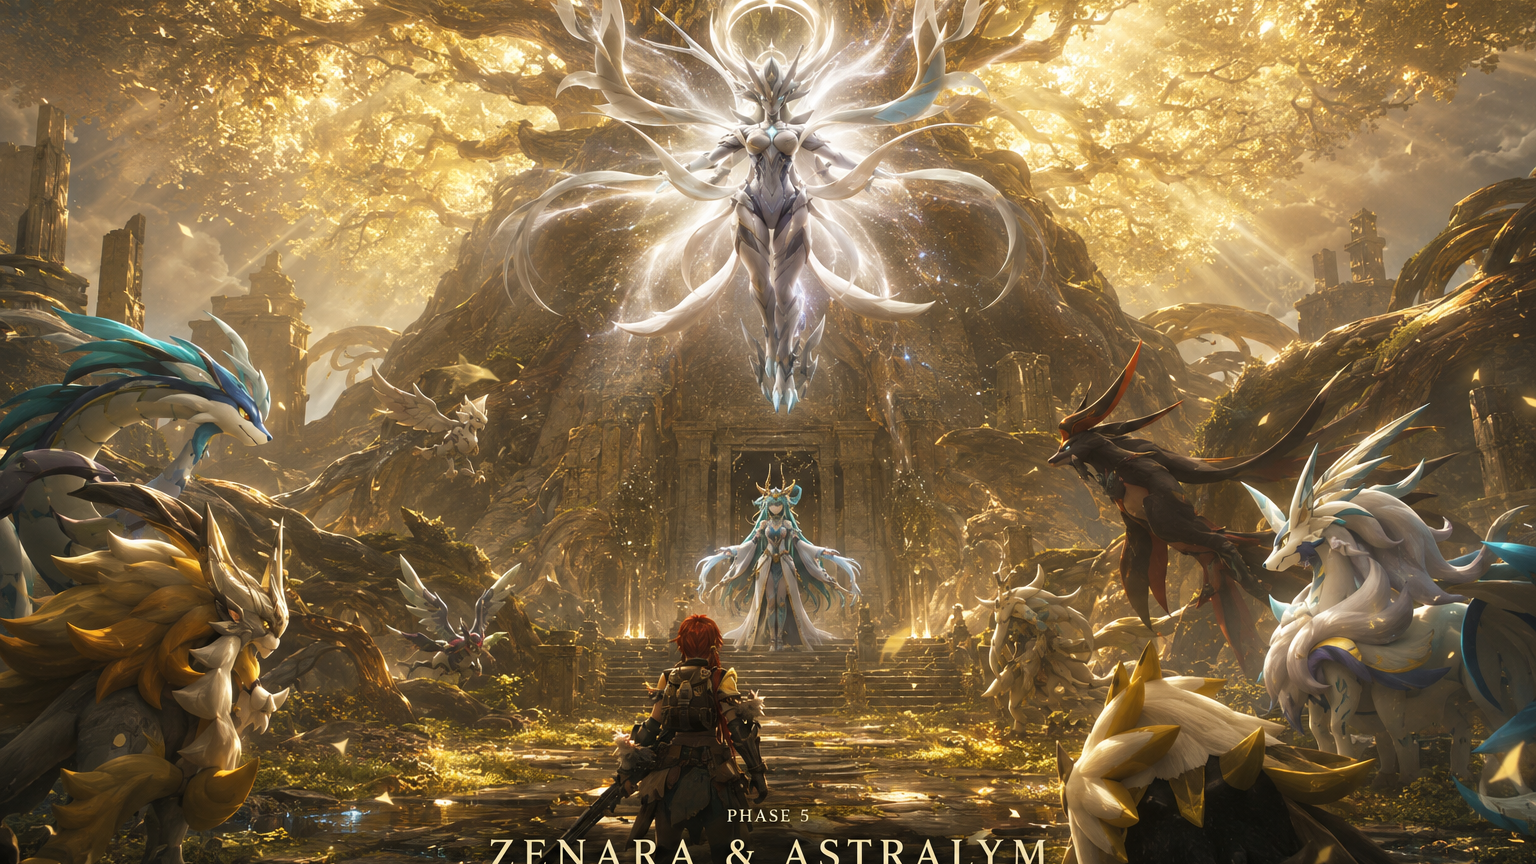
After clearing every major tower, only one challenge remains.
Zenara & Astralym serve as Palworld 1.0’s final World Tree boss encounter. While they technically aren’t a traditional Tower Boss like the previous eight fights, they’re the final step in the game’s progression path.
Astralym is especially dangerous because it’s Typeless, meaning there are no elemental weaknesses to exploit. Instead of building around counters, success comes down to bringing the strongest team you’ve managed to raise throughout the game.
The encounter becomes truly threatening on Hard Mode, where you’ll likely watch multiple Pals get knocked out during the battle.
Final Boss Checklist
Come prepared with:
- Your strongest overall Pals
- Plasma Rifle
- Hexolite or V1 Armor
- Advance Shield
- Food buffs
- Dogen
- Warsect
- Silvegis
- Two flexible accessory slots
This is less of a duel and more of an all-out war. Since elemental advantages don’t exist here, maximizing raw damage is the only strategy that matters. On Hard Mode you’ll need to inflict an incredible 5 mn damage within 10 minutes, so every second counts.
General Tips for Every Tower Boss
No matter which tower you’re challenging, Version 1.0 makes one thing crystal clear: these encounters are primarily damage checks. The shorter timer leaves very little room for slow, defensive playstyles.
A few habits consistently make every fight easier:
| Tip | Why It Matters |
|---|---|
| Match elemental weaknesses | Always bring Pals that counter the boss’s element. |
| Wear the best armor available | Ideally use equipment intended for that stage of progression—or something even better. |
| Carry plenty of ammunition | Around 500–1,000 rounds is a solid target depending on your weapon. |
| Rotate your Pals | Don’t rely on a single companion for the entire encounter. |
| Recall Pals before heavy attacks | Pulling them back just before an attack lands keeps them safe and has become one of the strongest strategies in difficult fights. |
| Use arena pillars | Most towers include pillars that block incoming projectiles and provide valuable cover. |
| Eat food buffs beforehand | Extra stats make a noticeable difference during longer encounters. |
Tower Bosses reward aggressive play. Sitting back and waiting for perfect openings rarely works under the new timer. Keep dealing damage, dodge consistently, create your own opportunities, and you’ll have a much easier time climbing through Palworld’s toughest encounters.